Wainscoting has begun. A reminder of what we started with:

We're not carpenters by any stretch of the imagination but the approach that has worked best for us in the past is:
Measure, measure, measure and then cut all the pieces
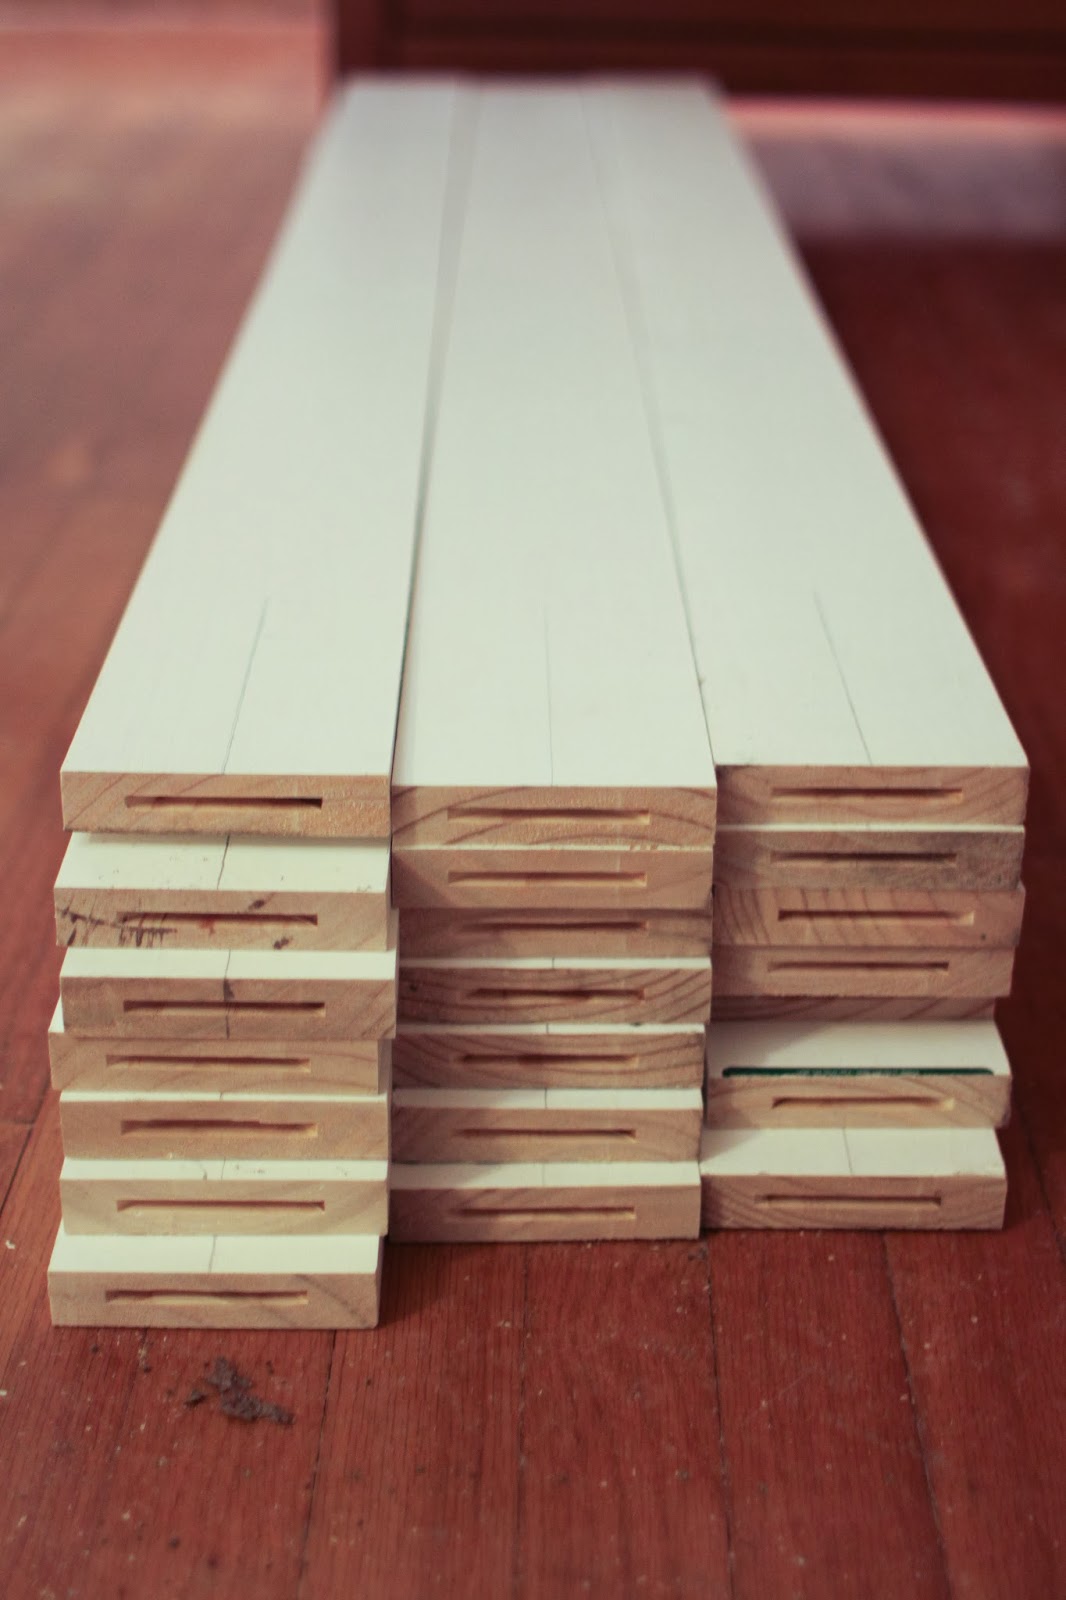

Biscuit the ends. Biscuits are little discs of wood and if you route small holes on 2 pieces of wood, apply glue to both holes will create a nice, strong bond.

Ask your 6 year old to mark all the studs. Giving a kid the freedom to write on the walls is pretty awesome to them.

Apply construction adhesive to the backs.
This is where we currently are. We still need to add the rest of the trim to the boxes and the ledge up top. Then I have to finalize a paint color.


I'm pretty sure my cleaning lady hates us...
Why did you biscuit boards together instead of purchasing a larger board?
ReplyDelete